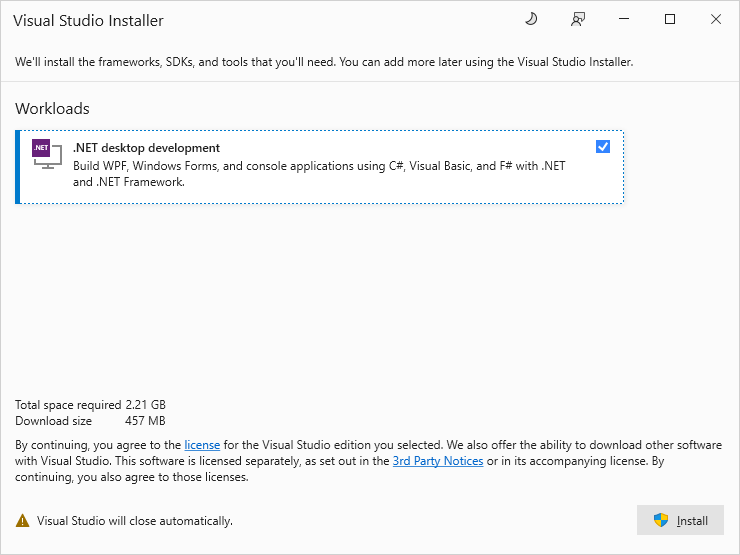
Build PJSUA with Visual Studio

  1. Download PJSIP source code (Version 2.13). (local copy)
  2. Open pjproject-vs14.sln with Visual Studio 2019.
  3. Visual Studio Installer will require you to install ".NET desktop development".
    .NET
  4. Do not recover the solution file.
  5. Right-click the solution and select "Re-target Solution".
  6. Customize config_site.h
  7. Right-click the project "pjsua" and select "Set as Startup Project".
  8. Right-click the project "pjsua" and select "Build". (Please make sure your mode is "Debug" and "Win32". It cannot be "Any".)
  9. After all the projects are built successfully, you can find "pjsua-i386-Win32-vc14-Debug.exe" under "pjproject-2.13/pjsip-apps/bin". This file can be copied to another Windows PC and executed directly.

Run PJSUA.exe

  1. Windows Defender Firewall will ask whether you allow this program to communicate with public Internet. Allow it. (Certainly, this action requires the Administrator permission to approve.)
    [Firewall]
  2. Before we learn the skill of NAT Traversal, we assume you run your PJSUA.exe inside NCNU campus.
  3. If your physical location is outside NCNU, you may choose one of the following solutions:
    1. (Preferred) Establish an SSL/VPN to NCNU before you start PJSUA.exe. After you establish a VPN, you may run "ipconfig" in a command window to see that your IP address is "10.99.xx.yy".
    2. Find a Windows PC inside NCNU, and remotely access it by Remote Desktop. By default, Remote Desktop will play remote audio on your local computer, but will not get audio from your local microphone (for privacy protection). Therefore, to run VoIP applications like PJSUA, before you connect to a remote host by Remote Desktop, you must change the setting of Local Resources, and configure remote audio setting to "Record from this computer".
      [Local [Record
  4. Two students form a group to do the following experiment:
    1. Suppose the User Agent 1 (UA1) possesses the IP address 10.1.1.1, and UA2 possesses the IP address 10.2.2.2.
    2. We want UA2 to call UA1.
    3. Start UA1 by running "pjsua.exe --no-tcp".
    4. Start UA2 by running "pjsua.exe --no-tcp sip:10.1.1.1".
    5. On UA1 you will hear a beeping sound, and see a message like
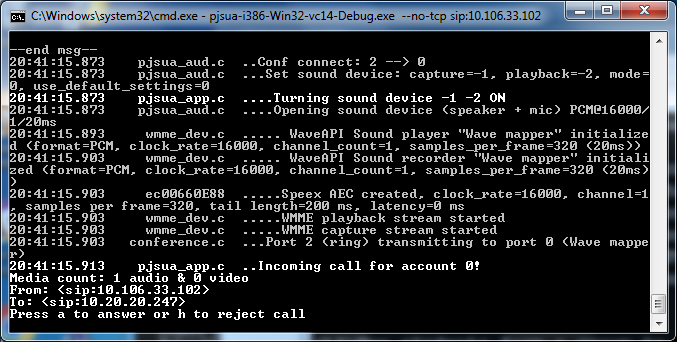
      20:38:35.006    pjsua_app.c  ..Incoming call for account 0!
      Media count: 1 audio & 0 video
      From: <sip:10.2.2.2>
      To: <sip:10.1.1.1>
      Press a to answer or h to reject call

      [Incoming
    6. On UA1, press a to answer with code 200.
    7. Now you two can talk with each other.

Capture Packets with Wireshark

Register to our own SIP Server